
How to Add Dynamic OG Images in Next.js: Step-by-Step Guide
Add page-specific Open Graph image metadata to a Next.js App Router route with typed metadata, public URLs, and a reliable validation workflow.
You will learn
- Add typed metadata to a dynamic App Router page
- Keep image generation separate from metadata publication
- Verify the server-rendered HTML and public image response
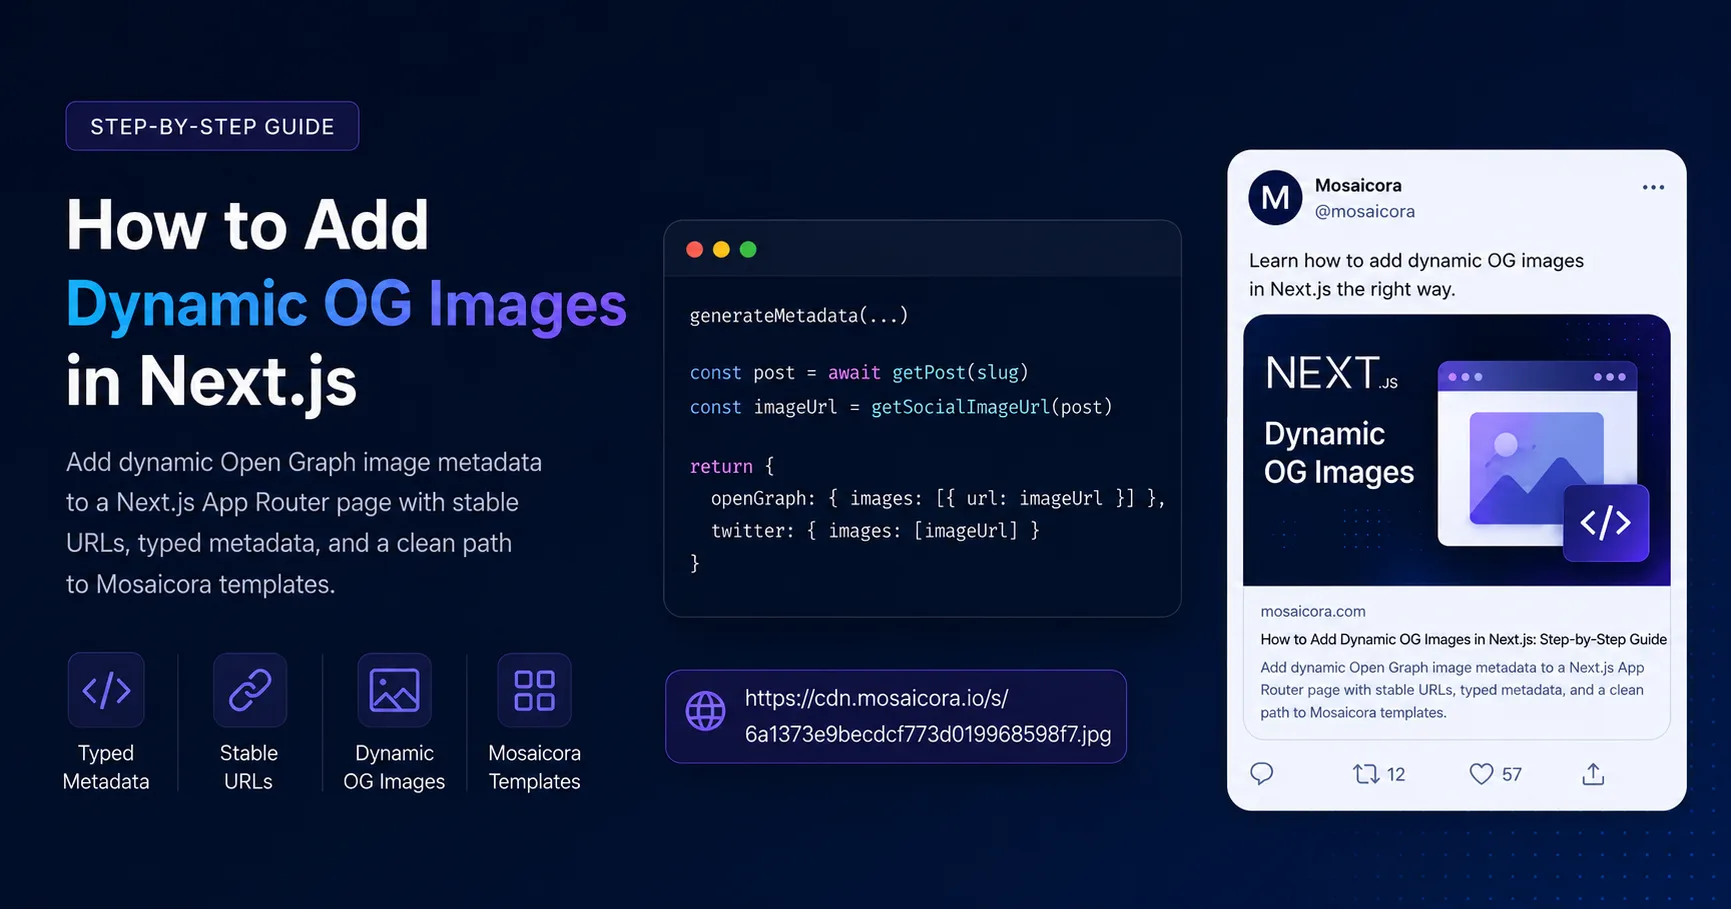
The direct answer
In Next.js App Router, generate page-specific metadata on the server and place the final public image URL in openGraph.images and twitter.images.
Define what should change per page
Dynamic does not have to mean complicated. Start by choosing the values that make one preview different from another. A blog normally needs the article title and category. A product page may need the product name, image, and collection. Keep the number of variables small enough that the template remains legible.
Useful inputs for a blog preview
- Article title
- Short category or content type
- Brand mark and consistent visual theme
- Optional author or publication label when it adds context
Publish metadata from the route
App Router pages are Server Components by default. Use generateMetadata for values that depend on route parameters or loaded content. Resolve the page data, build the final image URL, and return the Open Graph and X card metadata from the server.
import type { Metadata } from "next";

type PageProps = {
	params: Promise<{ slug: string }>;
};

export async function generateMetadata({
	params,
}: PageProps): Promise<Metadata> {
	const { slug } = await params;
	const post = await getPost(slug);
	const imageUrl = getSocialImageUrl(post);
	const pageUrl = `https://example.com/blog/${post.slug}`;

	return {
		title: post.title,
		description: post.description,
		alternates: { canonical: pageUrl },
		openGraph: {
			type: "article",
			url: pageUrl,
			title: post.title,
			description: post.description,
			images: [{
				url: imageUrl,
				width: 1200,
				height: 630,
				alt: `Preview for ${post.title}`,
			}],
		},
		twitter: {
			card: "summary_large_image",
			title: post.title,
			description: post.description,
			images: [imageUrl],
		},
	};
}Choose where the image comes from
Next.js can generate an image with file conventions or ImageResponse, and an external service can generate and host it from a reusable template. The metadata API only needs the finished URL. Choose the image source based on design workflow, runtime limits, caching, and who needs to edit templates.
Application-owned generation
Code controls the whole image
This can suit engineering-led teams that are comfortable maintaining layout code, fonts, image assets, and runtime behavior.
Template service
The app sends page data
This can suit teams that want reusable visual templates, hosted output, and less image-rendering logic inside the application.
Make the output public and stable
The generated URL must work for an unauthenticated crawler. Avoid localhost, preview-only deployment hosts, private object storage, and links that expire. A deterministic URL is useful when the same content should keep the same image until its inputs change.
Production URL checks
- The URL starts with HTTPS and uses the public production host.
- The response is an image and includes the correct Content-Type.
- The image can load without request cookies or authorization headers.
- The route does not depend on browser APIs.
- The cache strategy matches how often the underlying content changes.
Validate the deployed result
View the page source or fetch the document as a crawler would. Confirm that the expected meta tags are present before hydration. Then open the image URL directly and check the final page in a preview inspector.
Request a website preview audit
We will review three representative public URLs, identify social-preview metadata problems, and reply asynchronously with one practical setup proposal.
Prefer to continue on your own? Read the Next.js integration